![Nature Based Preschools and Elementary Classrooms: Talking Teacher Roles with Dr. Rachel Larimore [Ep. 18]](https://www.naturallyteaching.com/wp-content/uploads/2024/09/nature-based-preschools-header.jpg)
![5 Outdoor Education Safety Tips for Teaching Outside [Ep. 6]](https://www.naturallyteaching.com/wp-content/uploads/2024/06/episode-6-header.png)
Science
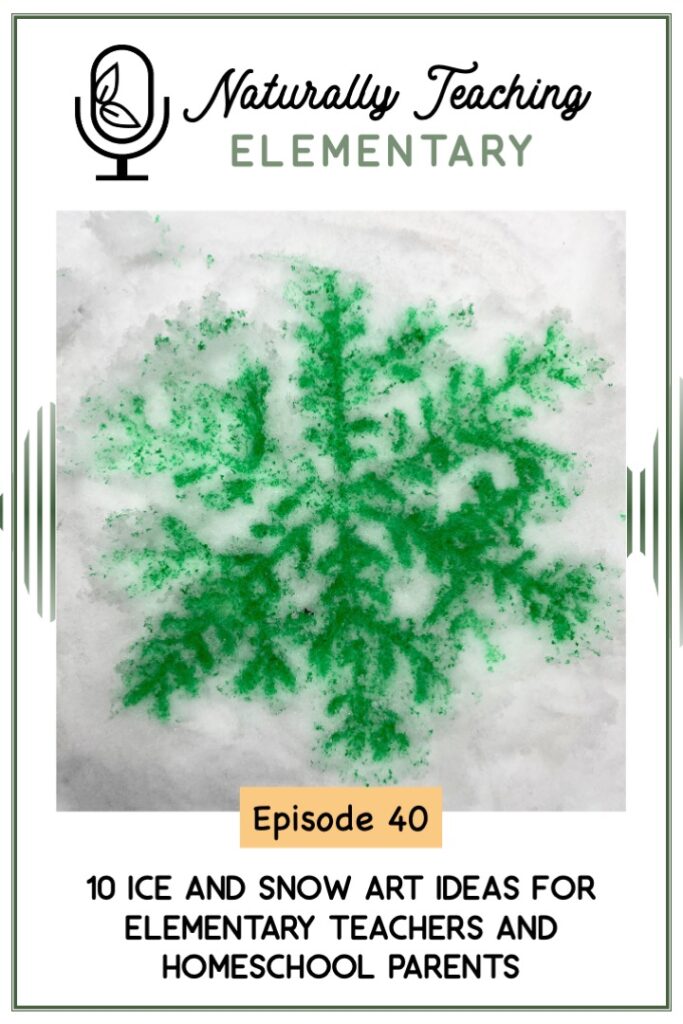
Frogs and Toads Together: Why do Amphibians Group Up?April 11, 2025

An elementary teacher science blog
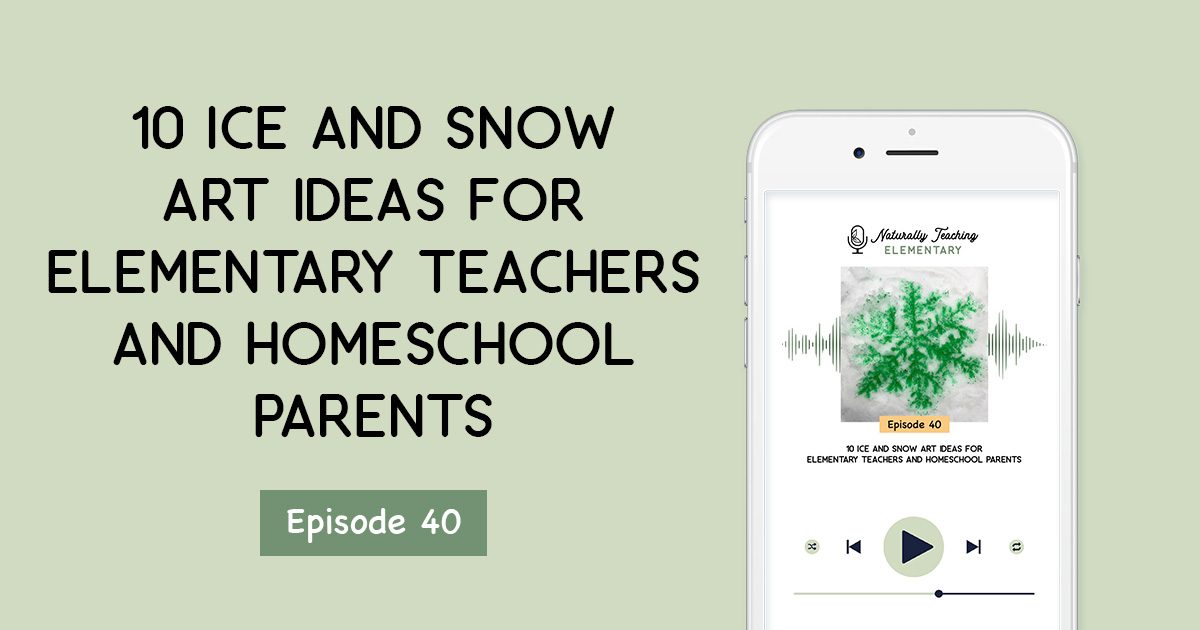
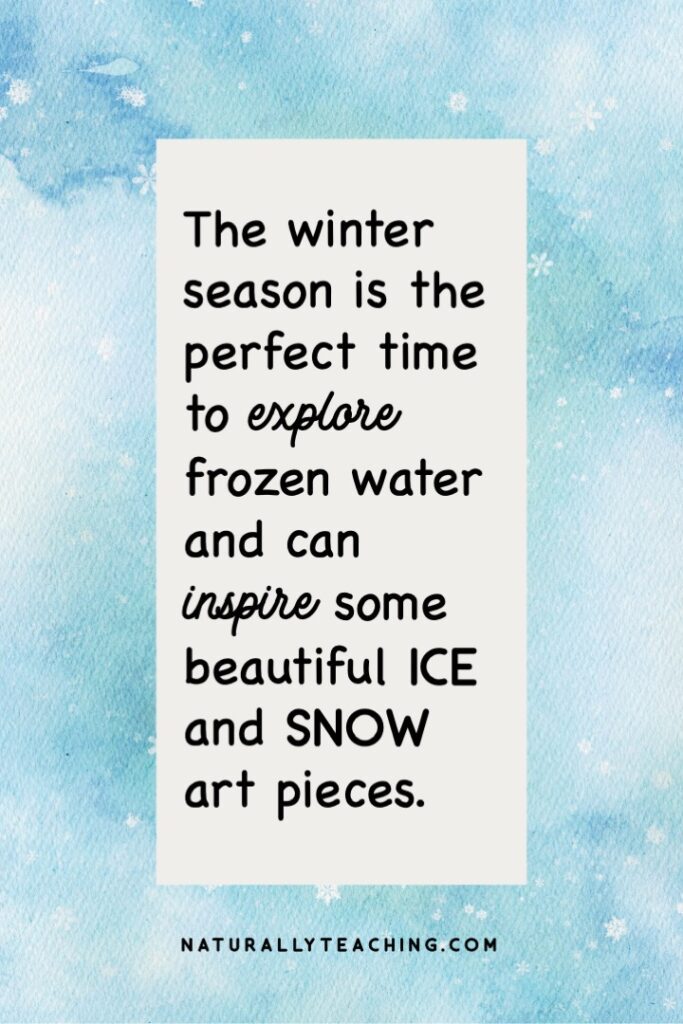
The winter season is the perfect time to explore frozen water and can inspire some beautiful ice and snow art pieces. This is the only time of year that water can naturally be found in all three states in many parts of the world, so let’s take advantage of the season by doing ice and snow art.
In this episode, we’ll talk about 10 ice and snow art projects to enjoy with your learners this winter. I’ll share a description of each project, materials you’ll need for the projects, how to prepare for each project, and how to present the projects to your learners.
The following ice and snow art ideas are discussed in the episode:
Art can come in many different types, and not just painting versus drawing versus sculpting. Today we’re focusing on product art versus process art.
Product art is what we usually think about when deciding on projects to do with children. These are projects that result in a nice looking product by the end. Some examples could be painting rocks to look like lady bugs, drawing a flower, and sculpting a bird from clay.
Process art, however, is a project that has an experience to get to the end or the piece provides an experience when done. Using the examples from before, to change them from product to process you could let your learners paint rocks with paint that has pop rocks in it; it will give them a new texture as well as a sensory experience as the pop rocks pop from the moisture of the paint.
Instead of drawing a flower, you could have your learners pick a few individual flowers from a large group of the same flower and rub it against paper to see what pigments are in the plant. And instead of sculpting a bird, you could create bird calls out of plastic cups, string, and sponges to take outside and call birds with.
Teaching elementary-aged children is a rewarding experience, but as educators and parents, finding the time and resources to create engaging lessons can be a challenge. That's where this podcast comes in. Welcome to Naturally Teaching Elementary.
I'm Victoria Zablocki, a certified elementary teacher turned outdoor educator. With over a decade of experience coaching teachers on effective teaching methods, I'm passionate about teaching the whole child with authentic and place-based experiences in school and home settings. Join me as we explore strategies for teaching with practical teaching tips, insightful interviews, picture book reviews, and more.
So let's grow together. Hey everybody, welcome back to the Naturally Teaching Elementary podcast. My name is Victoria Zablocki and I'm your host.
So the last couple of episodes have been focused on learning about water and the water cycle in winter. If you missed them, episode 38 was about six activities for learning about water in winter, all aligned with the Next Generation Science Standards. And episode 39 was about 11 children's water cycle books for elementary-aged learners.
So I'd like to talk one more time about water by focusing on ice and snow art projects for elementary teachers and homeschool parents. But before we talk art projects that I want to share with you today, let's get into today's teaching tip.
[1:13]
So my teaching tip today is about different kinds of art that you can use with your elementary-aged learners. And I'm not referring to painting versus drawing versus sculpting. I'm talking about product art versus process art. If you've never heard of these two types before, let me explain.
Product art is what we usually think of when we're deciding on projects to do with children. These are projects that result in a nice-looking product by the end. It doesn't have to be just step-by-step projects where the end result looks the same for everybody.
It can also be independent projects that result in a recognizable product. Some examples could be painting rocks to look like ladybugs, drawing a flower, and sculpting a bird from clay. Process art, however, is a project that has an experience to get to the end, or the piece provides an experience when done.
A lot of the time, the products don't look like much, but often the child has a fun journey to get to the finished piece, or they have fun using it when it's completed. Using the examples from before to change them from product to process, you could let your learners paint rocks with paint that has pop rocks in it. It will give them a new texture as well as a sensory experience as the pop rocks pop from the moisture of the paint.
Instead of drawing a flower, you could have your learners pick a few individual flowers from a large group of the same flower and rub it against paper to see what pigments are in the plant. And instead of sculpting a bird, you could create bird calls out of plastic cups, string, and sponges to take outside and call birds with. Now that's not to say that you can't have a beautiful product at the end of a process piece.
There are projects out there that can be both product and process, and I actually have some of those on this list today. So my goal with this episode is to give you ideas for ice and snow art projects that are a mix of both product and process pieces, with a few of them being a combination. I'm going to share with you a description of each project, materials you'll need to complete the project, preparation steps if needed, and how to present the project to your learners.
[3:12]
So let's get into these ice and snow art ideas. So project number one is colored ice cube paintings. So this is a process craft that's a lot of fun, and it's a great way to experience the changing of the states of water.
So you start with solid water, and then the art happens when it melts into liquid. Then the liquid turns to gas, creating a dried masterpiece they get to take home. So what you need to make this project happen are ice cube trays, liquid watercolor paint, water, popsicle sticks, and thick paper.
You'll want to prep for this ice art project the day before you plan to do it with your learners. So mix liquid watercolor paint with water, and pour them into ice cube trays. Cut those popsicle sticks in half, and put one in each cube, and then pop them in the freezer until they freeze.
Then when you're ready for your learners to get their art on, pass out paper to each child and bring the ice cubes out of the freezer. As the ice cubes begin to melt, have your learners move them around on their paper and create their abstract masterpieces.
[4:15]
Project idea number two are geoboard snowflakes. So this product piece is about the end product, your learner's very own snowflake. It also gets them using spatial awareness and has a connection to geometry. So material-wise, what you'll need for this is geoboards and rubber bands of different sizes.
So you'll provide your learners with a bunch of different sized rubber bands, and let them play around with shapes to create their own unique snowflake on the geoboards. If you want to provide them examples of real snowflake shapes, you could, you could print some out from Google images if you wanted, but you could also just let their creative flair shine. And if you want to give your learners something to take home, you can have them record their snowflake on grid paper.
Provide them paper that has the same number of cross-sections as pins on their geoboards, and this will make it easier for your learners to be able to record their design. If you're looking for made-for-you recording sheets, check out my Snow and Winter Weather Mini Unit for Kindergarten. This mini unit includes a lesson plan for creating snowflakes on geoboards, a recording sheet with a grid, planning a winter weather forecast activity, a snow depth data collection sheet, a guided retelling of a snow story, an opinion writing about snow, and using snow words to complete sentences. And I'll make sure to include a link for that in the show notes if you're interested.
[5:35]
Project number three is snowflake symmetry. And so this is actually a process product piece, so a combination, and it gives your students a chance to investigate the property of symmetry using snowflakes.
There's also practice with fine motor skills as well as spatial awareness. So for materials for this project, you'll want paper with half of a snowflake printed on a full page grid. So what I mean by that is, if you're creating it on the computer, create a grid for the entire page, and then only display half of a snowflake on half of the grid.
So then the other half of the grid is empty. You'll also want pencils and coloring utensils. So again, to get ready for this piece, you're going to prepare paper with snowflake halves on a grid, or you might be able to find one online.
And then you're going to give each of your students a paper with snowflake halves and have them try to match the shapes and design of the snowflake on the other half of the grid.
[6:32]
Project number four is watercolor revealing snowflakes. This is a process product piece, so again, a combination, that gives your learners the chance to create a surprising set of snowflakes.
So there's practice with fine motor skills as well as spatial awareness. So for materials for this project, you're going to need thick paper, white crayons, watercolor paints, water, and paint brushes. So pass out paper to each of your learners and encourage them to use those white crayons to draw snowflakes on their paper.
They'll be able to see them a little bit, but it won't be very clear until they cover the crayon in watercolor paints. So you'll want to pass out the paints, paint brushes, and water so that your learners can reveal their beautiful snowflakes. This works because the wax from the crayons resists water, leaving the white wax intact and the watercolor filling the holes around it.
[7:20]
Project number five is puffy snow paint. And this is a process project that gives your learners a sensory experience while also enhancing their creativity. So materials for this project include shaving cream, liquid school glue, popsicle sticks, something to paint on, and paper plates.
So to prepare for this one, you'll actually want to prepare the puffy paint right before you use it so that it doesn't deflate. So consider prepping it at the end of a special so that you can prepare it by yourself, but then your students will use it shortly after. You could also consider asking a care giver volunteer or a para-pro to come in and help mix it while you're with the kids.
So to mix the paint, you're going to mix together equal parts white shaving cream and white liquid glue. The shaving cream gives the paint the puffiness and the glue keeps the mixture together and allows it to dry in place. So when you're ready for your learners to be one with the puffy paint, put some puffy paint on paper plates where everyone at that table or at that rug can reach and put a popsicle stick per child on the plate as well.
Pass out whatever you plan to have them paint on. You could use construction paper, pine cones, cardstock, etc. And then encourage them to glob on their puffy snow using the popsicle sticks.
I don't suggest paint brushes because this stuff can be hard to clean out of paint brushes and could ruin them if you don't get it all cleaned out. Keep in mind that the more that's globbed on, the longer it will take to dry. This project will probably have to stay with you for at least a day to fully dry before traveling with your learners.
[8:56]
Project number six is toothpick and marshmallow snowflakes. So this is a process product combo project that gives your students the chance to depict their design of a snowflake. Or if you want to take it further, it can depict their understanding of solid, liquid, and gas molecules through three-dimensional art.
This gives them great practice with spatial awareness. So materials for this project include toothpicks, mini marshmallows, and paper plates. So for this project, provide each of your learners with toothpicks and mini marshmallows.
You could give them examples of different snowflake shapes if you'd like, but this could also be an exercise in creativity. If you do choose to go for the solid, liquid, and gas models, you'll have to remind them of the molecular structures of each state. Solids are tightly packed with strong structure.
Liquids are more loosely packed with less structure, and gasses do not have structure, but are instead highly energized and free-roaming. You could then work together as a class to create similar models for each of the states, or you could have them work independently or in pairs to show how they interpret the scientific information. And when all is said and done, hand out the paper plates because they can take their projects home on the paper plates.
[10:07]
Project number seven is over and under the snow and ice landscapes. This product piece is a great opportunity to give your learners experience with multiple mediums. It'll also give them a chance to use fine motor skills, storytelling skills, and imagination.
So there are a lot more materials involved with this one. You can include construction paper, coloring utensils, paint, paint brushes, water cups, plastic wrap, scissors, glue, magazines. So if you wanted to start this project by reading the book Over and Under the Snow by Kate Messner, it could give your students inspiration for what to include in this diorama-like piece.
This book shows cross-sections for what is happening below the snow and ice in a wintry landscape, and is truthfully my inspiration for this project. After reading the story, pass out a variety of materials for your students. Give them a piece of construction paper as the base for their project, and then provide them other art supplies like coloring utensils, paint, paint brushes, water cups, scissors, glue, and magazines.
Alternatively, to save you time and possibly crazy amounts of cleanup, you could set up all of the materials buffet style, and have your students come up to collect one kind of art supply at a time, and then return them when they're ready for a new supply. Although this way of delivering supplies could keep things organized for you as the teacher or parent, it could hinder their creativity and inspiration when they have to break their focus to get up and get the supply that they need. So on their piece of construction paper, share with them that they're going to create a winter landscape where half of the picture is above the snow and the other half of the picture is below the snow.
So so far, projects 1 through 7 have all been inside the classroom or in the home. But the last three projects I want to talk about are actually the outside projects because we know that being outside is important for students, and this will give them another opportunity to get outside and get their creative juices flowing.
[12:14]
So project number 8 are snow and ice sculptures. So this product gives your learners the chance to create a 3D sculpture out of snow and ice, practicing spatial awareness and sculpting skills. So materials for this one could include snow, sand shovels, popsicle sticks, optionally, play-doh, clay, or grid paper. So to prepare for this project, if you'd like to give your learners a chance to plan their design inside, you could provide them use play-doh or clay to practice molding their idea.
This medium will feel a lot different than the actual snow and ice, but it will start to give them the idea of the different shapes they'll need to make outside. You could also let them draw their idea on grid paper if you don't want to go the play-doh or clay route. So to work on this project, you'll want to share with your coworkers at school or family members at home that your learners will be making snow and ice sculptures in your green space.
And consider labeling the space and possibly even roping it off to really show the space that is being used for an art project. This will help make sure that your learners get to work on their pieces without fear of others breaking them before they're completed. This will likely be a multi-day project, but you can keep the amount of time needed down by telling your learners that their projects need to be below their knee height.
The bigger the projects, the more time they'll take. You could also consider making this a partner or small group project. The more hands working, the quicker the projects will be done.
Then, once you have your space and project guidelines defined, have your learners begin building with the snow and ice around them. Provide them small sand shovels to move snow and popsicle sticks for detail work. If they're interested in collecting icicles to add to their piece, make sure they get adult assistance. And then after they've completed their projects, take pictures so that you can print and send home evidence of their hard work.
[14:07]
Project number nine is painting snow with liquid watercolor. So this process art project gives your learners the chance to play in snow and create art on a new canvas.
This project provides practice with spatial awareness as well as fine motor skills. So materials that you need for this project will include liquid watercolor paints, water, spray bottles, condiment bottles, and snow. So to prepare for this project, you're going to mix liquid watercolor paints and water in spray bottles or condiment bottles.
And you can get spray bottles and condiment bottles at dollar stores and liquid watercolor paints online. I know I've mentioned liquid watercolors a few times, but I would really suggest staying away from food coloring since it can stain your learners’ outdoor gear. But liquid watercolor, on the other hand, is washable.
If your budget doesn't allow for you to purchase liquid watercolors, you could also tear apart washable markers that have dried out with pliers and put the cartridges in water, and the remaining dye will seep into the water, and you could use those for the project. Once you're ready for your learners to work on this project, bring them outside to a section of snow that hasn't been disturbed yet. Set out the bottles and let them paint pictures in the snow.
If you're using spray bottles, you could show them how to adjust the nozzle to make a stream for detail work versus a spray for more coverage. Once they finish their pieces, again, make sure to take pictures to send home.
[15:27]
And project number 10 is making rainbow icicles. This product project gives your learners the opportunity to create beautiful icicles in your green space. It also gives them a chance to practice their fine motor skills. You'll need liquid watercolor paints again, condiment bottles, and icicles for this project.
To prepare for this project, you'll mix liquid watercolor paints and water and condiment bottles similar to the previous project. I would suggest condiment bottles only this time though, because the drip from the nozzle will be easier to control with condiment bottles instead of spray bottles. So for this project, you'll have to keep an eye out for icicles forming at a low enough height for your learners to be able to color.
Once you have the ideal conditions, bring your learners outside and have them use the liquid watercolor in the condiment bottles to drip color onto the tops of the icicles. The color will travel down the icicle, creating colorful works of art. Once they have finished coloring the icicles, make sure to take a picture and send it home to show off their beautiful creations.
[16:30]
In a nutshell, today we talked about 10 different ice and snow art ideas to try this winter. We talked through painting with colored ice cubes, geoboard snowflakes, snowflake symmetry, watercolor revealing snowflakes, puffy snow paint, snowflake models from toothpicks and marshmallows, over and under the snow and ice landscapes, snow and ice sculptures, painting snow with watercolors, and making rainbow icicles. And don't forget, if you're looking for a recording sheet for your learner's geoboard snowflakes, check out my Snow and Winter Weather mini unit for kindergarten in my Teachers Pay Teachers store.
So thanks for taking time to listen today. I know you're busy and I truly appreciate the time you take to tune in. If you have any questions, wonderings, or ice and snow art projects that you do, get ahold of me on Instagram at Naturally.Teaching, or you can email me at victoria@naturallyteaching.com.
And don't forget to check out the show notes for this episode at naturallyteaching.com/episode40, where I will have all of the links that I've mentioned today. And if you're listening to this episode in real time, today, Monday, February 17th, 2025, is the last day to count birds for the Great Backyard Bird Count. Millions of people today are counting birds to help scientists better understand bird populations before the spring migration.
If you have 15 minutes or more and want to join this wonderful citizen science project with your learners, make sure to count today and report your sightings to eBird by March 1st. So thanks again for joining me today. And until next time, keep exploring, keep learning, and keep naturally teaching.
Thank you so much for tuning in to today's episode of the Naturally Teaching Elementary Podcast. I hope you found it informative, inspiring, and full of actionable insights to enhance your teaching journey. Connect with me on social media for more updates, science tidbits, and additional resources.
You can find me on Instagram and Facebook at Naturally.Teaching. Let's continue the conversation and share our passion for teaching elementary-age children together. Don't forget to visit my website at naturallyteaching.com for all the show notes from today's episode.
If you enjoyed today's episode, please consider leaving a review on your favorite podcast platform. Your feedback helps me improve and reach more educators like you. Thank you again for listening, and until next time, keep exploring, keep learning, and keep naturally teaching.
0