Science
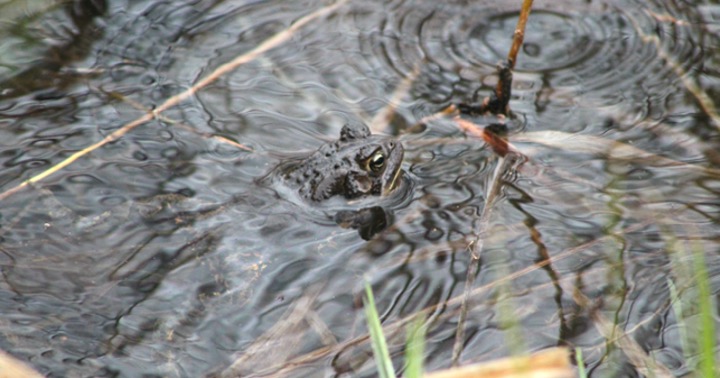
Frogs and Toads Together: Why do Amphibians Group Up?April 11, 2025

An elementary teacher science blog
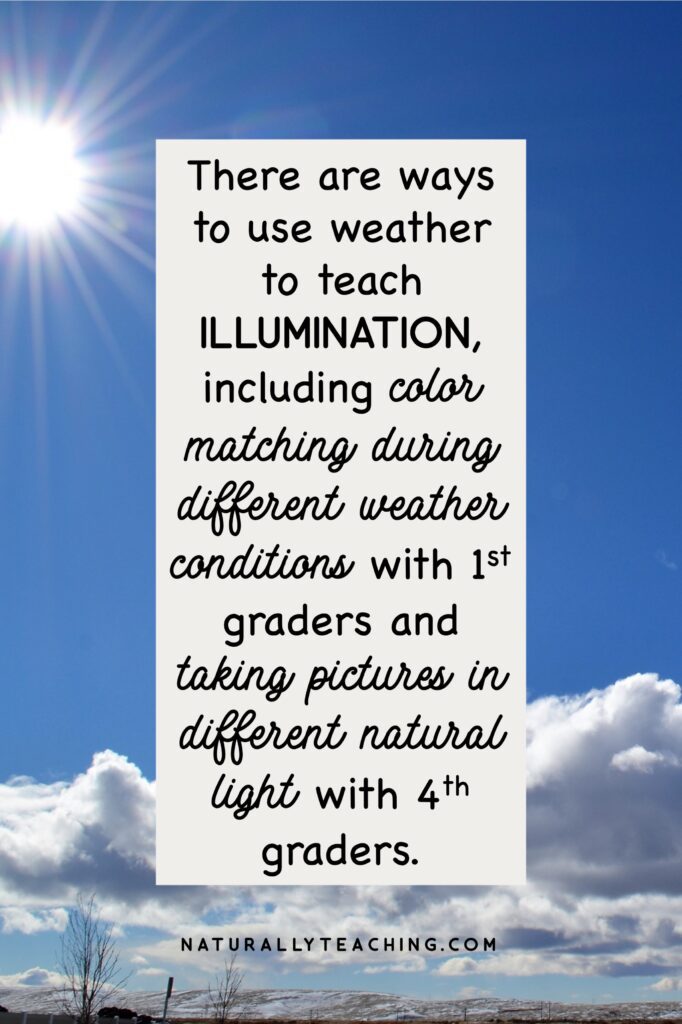
Teaching children about light reflection and its role in illumination can be quite an abstract and challenging topic. However, weather is a way to make this concept more concrete. Thankfully, March and November are months with variable weather and wonderful opportunities to capitalize on nature’s natural variation with your 1st and 4th graders.
In this episode, we’ll talk about activities to investigate weather and light that are paired with Next Generation Science Standards for grades 1st and 4th. I’ll share the standard that inspired the activity, how the activity relates to illumination and weather, and descriptions of how to use the activity with your learners.
The following standards are paired with weather illumination activities:
[0:00]
Teaching elementary-aged children is a rewarding experience, but as educators and parents, finding the time and resources to create engaging lessons can be a challenge. That's where this podcast comes in. Welcome to Naturally Teaching Elementary.
I'm Victoria Zablocki, a certified elementary teacher turned outdoor educator. With over a decade of experience coaching teachers on effective teaching methods, I'm passionate about teaching the whole child with authentic and place-based experiences in school and home settings. Join me as we explore strategies for teaching with practical teaching tips, insightful interviews, picture book reviews, and more. Let's grow together.
Welcome back to the Naturally Teaching Elementary Podcast. My name is Victoria Zablocki and I'm your host. If you listened to last week's episode, episode 60: Elementary Study About Weather: Kindergarten and Third Grade NGSS Activities, you heard a couple of ideas for taking kindergartners and third graders outside to investigate weather.
You also heard me remind you that March is a great month with variable weather. And let me tell you, in Michigan last week, my Monday, Wednesday, Friday morning class had a 70-degree weather day on Monday, a freezing rain day on Wednesday, and a snowstorm on Friday. So there's some great evidence for you.
We're going to continue taking advantage of the variable weather March brings by talking this week about weather and illumination in connection to first and fourth grade Next Generation Science Standards. So first and fourth grade standards have light and its role in seeing objects in common and weather can help us investigate that concept.
So in this episode, I'm going to describe weather illumination activities for grades first and fourth. For each activity, I'll share the Next Generation Science Standard that inspired that activity, as well as the scientific phenomenon that the activity helps explain. And make sure that you listen through to the end of the episode, because even though I've paired these activities to particular standards, you may find yourself inspired to use a similar concept for your curriculum, or even use the same activity for a different grade.
Also, if you're new to taking your students outside for learning, check out Episode 6: Five Outdoor Education Safety Tips for Teaching Outside, for suggestions to make teaching outside easier. Now, let's get into these weather illumination activities.
[2:15]
So for first grade, the Next Generation Science Standard that I pulled was 1-PS4-2: Make observations to construct an evidence-based account that objects in darkness can be seen only when illuminated.
So a little background, this standard comes with a very common naive conception. Many kids think that they've seen things in absolute darkness. We, as adults, know that that isn't possible, but it's hard to convince them that they've never actually been in complete darkness, the complete absence of light.
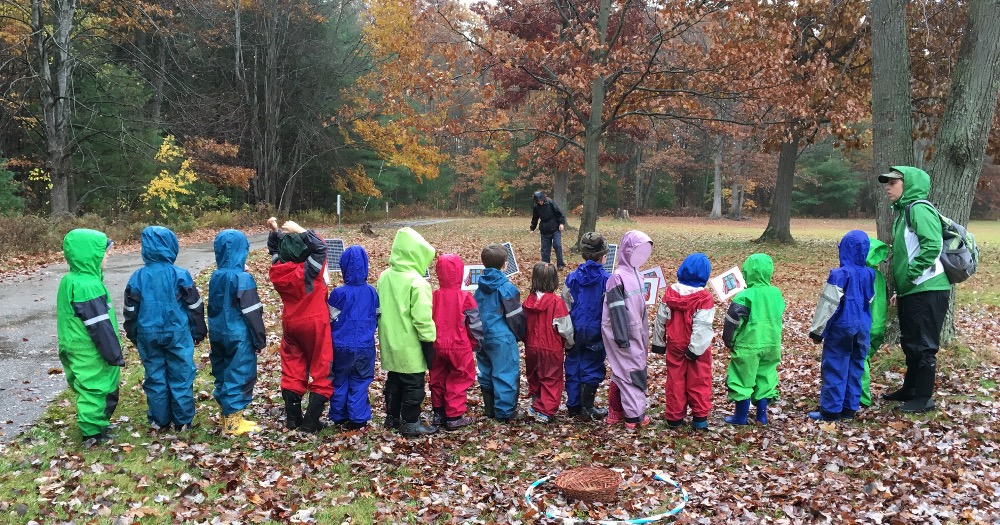
But, to help give your learners more experiences that can help them clarify this naive conception, you're going to use weather to help your learners discover that they really do need light to see things. So for this multi-part lesson, you're going to prep by paying attention to the weather, and since March is so variable, you'll likely be able to get a week of school where your learners will experience a sunny day and a cloudy day. What would be really great would be a sunny day, a mostly cloudy day, and then a very densely clouded day, but don't feel like you need to hold out for that.
By tracking these changes in weather, you're providing your learners the opportunity to experience different amounts of light and how that can change the way they see nature. Another piece of this lesson that you'll need to prep are paint swatches with different hues on the same card. The different hues are key because your learners are likely going to see the same color during the study, just in different intensities, and the different hues of the same color can help keep them honest.
You can find these swatches at your local hardware stores, or you might even be able to get like a bunch of them sent to you from the paint company. You'll also need to “seed” your exploration space with an object that you'll instruct all of your learners to visit. This could be a set of fake flowers, a special rock, a piece of bark, something that's not super flashy that it'll walk away during your study, but has color that can help them really see the differences in the different amounts of light.
Once you have a week that looks promising, take your learners outside on one of the days and bring your paint swatches with the different hues and your “seed” object. Take them to a space that has a lot of different colors. This could be an area with wood chips, flowers, colorful rocks, etc.
And then give them their exploration space with natural boundaries like sidewalks, fences, bushes, and more, and have them match colors using the paint swatches. Also share with them that they need to visit you at your object and identify what color they think it is. As they're exploring, make sure to take pictures of your learners when they come to see you with the “seed” object and what color they think it matches that day.
If this is a sunny day, they'll probably match one of the brighter hues to the object, but if it's one of the cloudier days, they'll likely match one of the gray or more subdued hues. Go out another day with different weather into the same space with the same paint swatches and the same “seed” object. Have them match objects in the space to a color on the paint swatch, and then remind them to visit you at the class object, making sure to take turns.
If it's helpful, you can prep for this lesson by printing out the picture you took of them with the object and the paint swatch from the previous exploration. Otherwise, you could just pull up the picture on your device and have them take a look when it's time. Before showing them their picture, however, ask them, what color do you think the object is now?
Then, after they've identified and you've taken a picture, pull out the picture from the previous time and ask if they're identifying the object as the same color or is it a different color that day? Why do they think that is? How much light is there out today as compared to the other day?
Go inside after everyone's had a chance to identify the color and have a class discussion on their findings. Did most of the class identify the object as the same color as the previous exploration? Why do they think that is?
Did anyone notice that they identified other objects as different colors? What did they notice about the weather? If you know that you're going to be going out one more time with a difference in light, have them make predictions as to what color they think the “seed” object might be next time.
Regardless of whether you have an additional day to go outside and look at the object or not, get your physical space or classroom ready to do a dark observation. It's too hard to control how much light there is outside, but you could mostly control how much light there is in your room. Use shades, paper and fabric to help get your classroom as dark as possible for this observation.
When you're prepped and ready, tell your learners that you're going to turn the lights off for an observation. It's important that they sit in their seat or on the rug during this observation and they don't move around. This is for their safety and other safety as well.
Let them know that you'll place an object in the middle of the classroom or in the middle of the rug, and it's their job to share what color the object looks like to them. If you have a little bit of light, they might be able to see the shadow of the object, but they likely won't actually be able to identify a color when it's mostly dark. After you've had the lights off for like 20 seconds at most, don't go too crazy on it, you can cover the object up and then turn the lights back on.
Ask your learners what color they think the object was. Some of them will probably guess, but a lot of them won't have any clue. This helps illustrate the point that you need light to see objects, and hopefully help them have a more rounded understanding to combat their original naïve conception.
You can reveal the object in the light by removing the cover so that they can celebrate an accurate guess or be flabbergasted at the actual object. First graders love a dramatic reveal. And if you want to get these observations down on paper, check out my Moon Phases in Light mini unit for first grade on Teachers Bay Teachers.
I've got a recording sheet that would work really well for this activity, as well as different moon activities including an Objects in Space sort, a Reflecting Light experiment, a How We See the Moon model, a Moon Journal data collection opportunity, and literature lessons as well.
[8:11]
For fourth grade, the Next Generation Science Standard that I pulled was 4-PS4-2: Develop a model to describe that light reflecting from objects entering the eye allows objects to be seen.
So for fourth graders, I'm thinking this lesson will be a great opportunity to include some tech. Take inventory of what kinds of devices you have that can take pictures. Do you have digital cameras, an iPad, a cell phone, etc.?
Regardless of what kind of tech you have, your device will only be able to take pictures of objects if there is light. These devices are going to act as representatives of eyes, the organ that light enters, and then the brain makes sense of the images. So again, for this multi-part lesson, you're going to track the weather and try to do this study during a week that you have varying weather conditions.
The more contrast, the better. If you can find a week that has sunshine and clouds, that's great. If you can find a week that has sunshine, clouds, and thunderstorms, even better.
Make sure, though, that you're not outside when there's actual thunder because then there's a safety conflict. But if it's super dark and there's no thunder and hopefully no rain, keep those devices safe, that would be fantastic. You want that darkness.
Similar to the activity for first grade, you're going to pick a space where your learners can find something in nature that they really like the looks of. Finding green space with a variety of natural things would be best since not everyone is drawn to the same object. Go outside with your learners and show them their exploration space using natural boundaries again.
Give them a certain amount of time to wander around and find something they like the looks of. Once they've found their favorite natural item, they can come to you to get the tech and take a picture of the item. They need to remember what they took a picture of and where it is, so the next time you come back outside, they can take another picture of it.
Going back to the devices, however, whatever you're using, make sure to force the flash off. You want this to be as organic as possible. If you add flash, you're adding additional light, and the images aren't going to help you illustrate that reflecting light is required to see an object.
If you want to track which picture is which child's and you're using a digital camera, make sure to number the cameras if you have more than one, and then create a catalog of the future picture numbers. What I mean by that is put your SD card into your computer and find the last picture taken and what the file number is. Then take a notebook paper and write the number that would come after the last picture number and write as many future picture numbers as you think you'll need.
If it was 0071, you would start your notebook paper 0072 and forward, depending on how many you think they need. You can also instruct your students to add additional numbers if they run out of numbers. This way, you can hand your learner the paper that coordinates with the camera, and then they can write their name on the line that coordinates to the picture or pictures that they've taken.
If you're using an iPad, you could do a similar thing. Go into the Photos app and find the last picture number and create another catalog that your learners can log their name on when they take a picture or pictures. Alternatively, you could provide your learners a strip of paper with their name on it, and then they could put it next to their object so that their name appears in the picture.
After you've decided how you're going to track your learner's photos, you'll have them take photos of the natural item they like, making sure to keep the flash off in at least two different weather conditions. Additionally, since we can't control how much light there is outside and your weather forecast may be telling you that you're not going to have a really dark weather condition day, you could make sure to have your learners take a photo as soon as class starts when the sun is low and there isn't much light to be able to give you a really dark photo opportunity. After they've taken at least two pictures, provide your learners either the digital copies of their photos or printed copies of their photos.
Have them put them in their science notebook and analyze the differences in the pictures. All the pictures are of the same natural object, but does every picture look the same? Why not?
What is making it so the colors look different? What is making the amount of detail different? If these are taken by the same device, shouldn't they look the same?
After they've had time to analyze their photos, open it up to a class discussion and pose these same questions. What do they surmise? Hopefully, someone will bring up the fact that on the days that there is less light, there is less detail and less variation in color.
That'll open the floor for a discussion about the fact that the eye needs light reflecting off of objects in order for them to be seen, just like the cameras in this study.
[12:38]
So in a nutshell, today we talked about activities for first and fourth grade about weather illumination. For first grade, we talked about matching colors to an object in different amounts of natural light and weather conditions.
And for fourth grade, we talked about using cameras to take pictures of a natural object in different weather conditions to see how varying light changes the image. And don't forget, if you're looking for a made-for-you recording sheet for your first grade activity, check out my Moon Phases and Light Mini Unit for 1st Grade on Teachers Pay Teachers. So thanks for taking time to listen today.
I know you're busy and I truly appreciate the time you take to tune in. If you have any questions, wonderings, or weather illumination activities that you use, get a hold of me on Instagram at naturally.teaching, or you can email me at victoria@naturallyteaching.com. And don't forget to check out the show notes for this episode at naturallyteaching.com/episode61 for all the links that I've mentioned.
So thanks again for joining me today. And until next time, keep exploring, keep learning, and keep naturally teaching. Thank you so much for tuning in to today's episode of the Naturally Teaching Elementary Podcast.
I hope you found it informative, inspiring, and full of actionable insights to enhance your teaching journey. Connect with me on social media for more updates, science tidbits, and additional resources. You can find me on Instagram and Facebook at naturally.teaching.
Let's continue the conversation and share our passion for teaching elementary age children together. Don't forget to visit my website at naturallyteaching.com for all the show notes from today's episode. If you enjoyed today's episode, please consider leaving a review on your favorite podcast platform.
Your feedback helps me improve and reach more educators like you. Thank you again for listening, and until next time, keep exploring, keep learning, and keep naturally teaching.
0