
![Nature Based Preschools and Elementary Classrooms: Talking Teacher Roles with Dr. Rachel Larimore [Ep. 18]](https://www.naturallyteaching.com/wp-content/uploads/2024/09/nature-based-preschools-header.jpg)
![5 Outdoor Education Safety Tips for Teaching Outside [Ep. 6]](https://www.naturallyteaching.com/wp-content/uploads/2024/06/episode-6-header.png)
Science
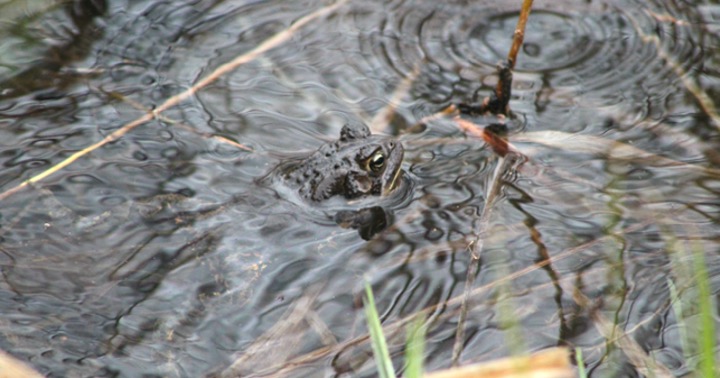
Frogs and Toads Together: Why do Amphibians Group Up?April 11, 2025

An elementary teacher science blog
Reusing recyclables to make science tools could be the difference between your students repeating scientific information and actually understanding it. Let me give you an example: one day I was coaching a 3rd grade teacher on how to use mineral testing kits that I brought for her students to try. The school had textbooks about the subject but didn’t have the funds to buy the materials to give the students a hands-on experience.
As we were talking through the different tests, the students could explain everything. They knew that a streak test required you to scrape the mineral across a tile to see if it left behind a color; they could explain that the hardness test required you to scratch the mineral with different materials; and they could describe the different classifications of luster.
Satisfied that they knew what they were doing, I passed out the testing kits and three different minerals. I told them that we were going to work through the first mineral as a class and then they could identify the other two afterwards. Once the minerals and materials were in front of them it became very obvious that even though they could repeat what they had read in the textbook, they had no idea how that translated to the real world.
We worked through the first mineral together and after that the information clicked. By the end of the lesson, each child knew how each test worked and how it actually related to the minerals. Although mineral testing kits can’t be made from recyclables, the lesson here is universal: without students getting their hands on science, theory just isn’t enough.
Don’t need all the information? Use this list to get to what you need:
Non-standard measurement tools
Learning about science tools and how to use them is an essential part of science education in elementary school. If you follow the Next Generation Science Standards (NGSS), you’re familiar with science and engineering practices, one of the three dimensions of learning science.
Analyzing and interpreting data, one of the science and engineering practices, includes the use of science tools in the classroom. Students need repetitive opportunities to work with a variety of science tools in order to collect, record, and share their observations. However, science equipment is not cheap and there are many schools and teachers that can’t afford them.

So what can be done to ensure your students have hands-on experiences with science tools in your elementary classroom? We’re going to get creative by reusing recyclables! Even if you’re not a person that claims to be creative, we’re going to get your innovative juices flowing in an effort to best serve your students.
This article is here to help you start changing your mindset about science equipment for school. Although there are only 10 tool ideas in this article, hopefully you’ll walk away with inspiration for other ways you can begin reusing recyclables to provide quality science tools to your students.
Before we jump into it, let’s really quickly hit on why reusing recyclables to make science tools for your students is a good idea. There has been a lot of media coverage about the amount of recyclables that actually get recycled, (spoiler alert, it’s not as much as you’d think) causing a lot of people frustration and concern. This goes doubly true for those of us that take the time to follow all of the guidelines to ensure as much recycling success as possible.
If you want to make sure that your recyclables aren’t ending up in the landfill or the ocean, reusing recyclables to make science tools for your students is a great option for both the Earth and your classroom. Not only will it help the planet, but it will also help your budget as you won’t be spending as much of your own money on science supplies for your classroom. It’s a win-win!
To ensure best success for reusing recyclables, make sure to prep your recyclables correctly. If you don’t prepare them well then they could end up getting thrown away, defeating the purpose of protecting the environment and also protecting your budget.
The first step to preparing your recyclables is to consider what sorts of materials and shapes you want for your science tools. For example, if you’re going grocery shopping and you’re planning on using cardboard egg cartons to make biodegradable plant starters (explained later in the article), then make sure to buy eggs that are in the type of egg carton you’ll need.
If you’re planning to use plastic bottles without labels, consider looking for goods that are stored in plastic bottles that have labels that can be cut off instead of peeled off. Planning ahead will help you save time in the long run and will help you use your materials more efficiently.

Secondly, you’ll need to consider whether or not you plan on collecting all of the recyclables yourself or if you’ll make it a community effort. If you’re planning to do the collecting yourself, preparing the recyclables can happen progressively as you use up the materials that are inside the recyclables that you want. If you’re planning on asking for support from co-workers or parents to help you collect the recyclables, prep may be more demanding on your end.
*Teacher tip: If you’re planning to accept donations, ask that your parents and co-workers send in the recyclables rinsed out and dried. DO NOT have them remove the labels for you. It’s tempting to have them help with this step but then you lose the ability to screen what sort of materials were stored in the recyclables before they came to you.
Some children are so allergic to peanut butter that, even after washing, if they come into contact with a peanut butter jar they could still have a reaction to the slight residue left behind.
Lastly, you’ll want to make sure that you are cleaning the recyclables well after they are emptied. This means soap and water, scrub them like dishes, and let them dry completely before putting any sort of lids back on.
By cleaning them very thoroughly you can ensure that they won’t smell bad, they will be safe for animals that are collected for observation, and safe for your students to handle. After they are cleaned, make sure to store them in a dry location so that they remain clean for use by students.
There are a variety of science tools and equipment that could be helpful in the elementary classroom. Here’s a science tools list inspired by the Next Generation Science Standards that could inspire how you reuse recyclables:
Some science equipment is not replaceable with teacher- or student-made substitutes, so that’s where you should focus spending your district allotted budget. Things like thermometers, safety equipment, and digital tools should all be purchased new or in gently used condition to make sure they are going to work well for your classroom.
However, there are plenty of other science tools that can be swapped out for cheap by reusing recyclables. Check out this list of 10 science tools that you can use recyclables for:
Specimen collecting is a favorite science activity for many kids. Leftover yogurt containers make fantastic collection cups for small plant parts, rocks, and even water or snow.
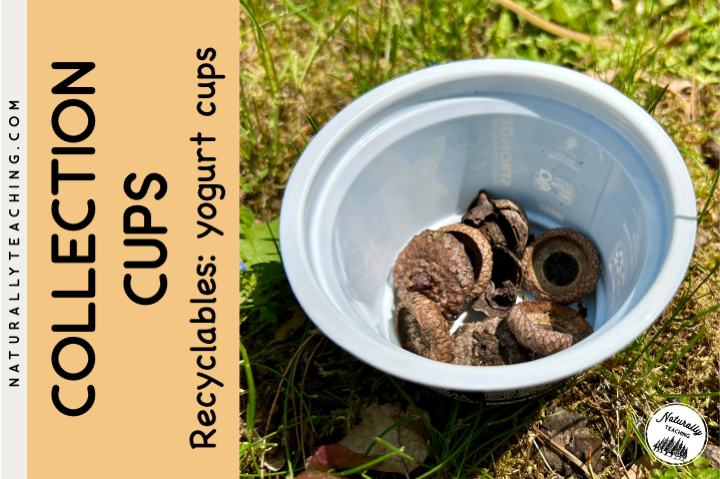
As a bonus, a lot of yogurt containers are white which is a helpful backdrop for close investigation of specimens. Since most things are not white, they stand out against the white backdrop making small details and shapes easier to see.
When it comes to terrariums from school supply companies and stores, the price for materials can add up quickly! However, rotisserie chicken trays and lids can make amazing terrariums (and a wonderful dinner!).
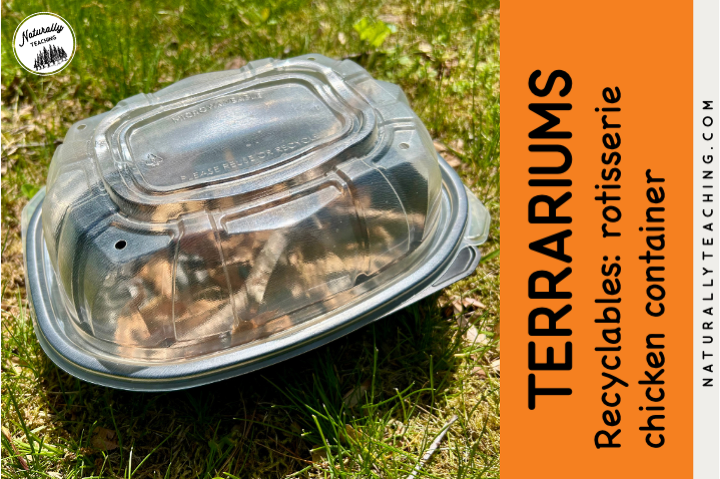
Not only is there space to put shelter for small critters under investigation, but the lids are mostly see-through, the trays and lids are made of a plastic that won’t break when dropped, and there are holes in the lids for animals to get oxygen. Plus, they are more compact since you can pull the pieces apart and stack them for easy storage.
Recyclables are cheap and easy non-standard measurement tools that you can use when you first introduce measurement to your early childhood learners. Protein scoops are awesome for volume discovery since they have handles, but yogurt cups work great as well!
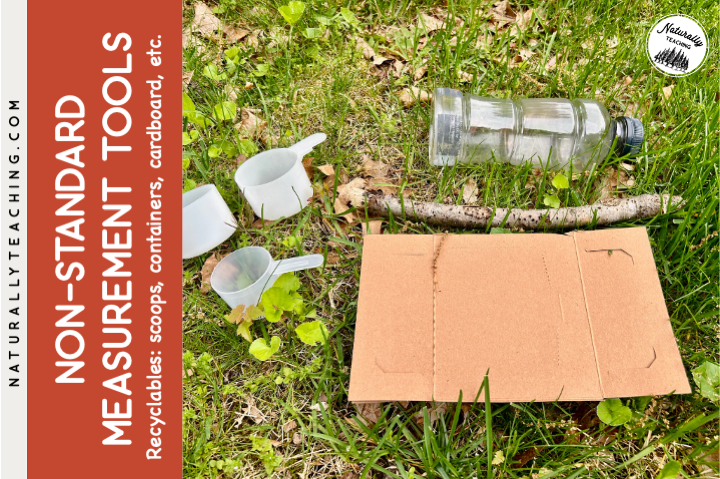
Cardboard boxes, plastic bottles, chip cans, or whatever else you have on hand can be used to measure distances and length. As a bonus, you could cut up cardboard boxes into rectangles and mark standard measurements along the edge as a substitution for rulers; although we want to introduce our students to authentic tools like rulers, sometimes it’s nice to have flexible tools that can get broken.
Sometimes you want to collect and preserve plant specimens with your students but you don’t have a plant press. If you have a big book that you don’t use anymore, consider bringing it into your classroom to use as a plant press.
You’ll want to use some paper towels around your plant specimens so that the water doesn’t leak into your pages, but aside from that, the weight of the book should push down enough that your students’ plants should flatten and dry out. Once they’ve spent time inside the book they should be usable for projects and students’ science notebooks.
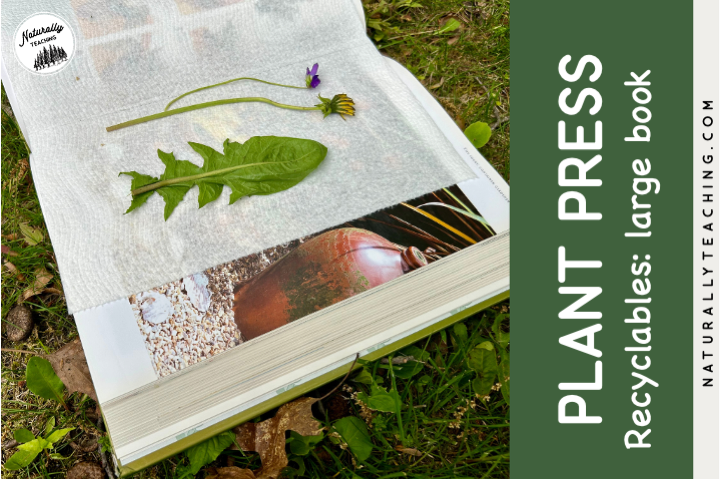
*Conservation note: To ensure conservation best practices, teach your students to look for plant species that are common in your school yard. If there is only one of the plant that they want to collect, it should be left in nature for the animals and they should look for a different kind of plant that is plentiful.
This practice will help them in the future to make good decisions to encourage biodiversity in their community.
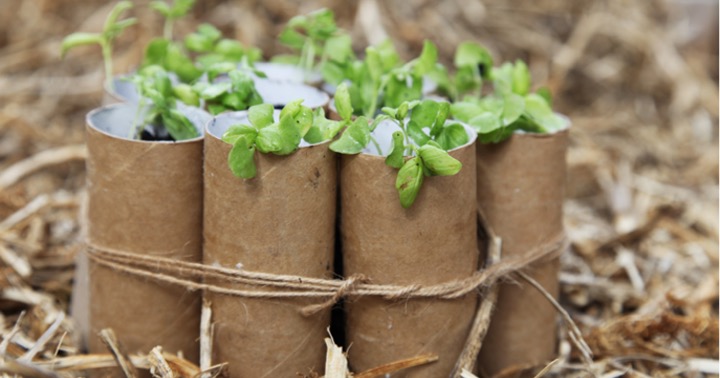
It’s helpful in many grades to conduct plant growing experiments. Cardboard egg cartons can be a great biodegradable plant starter for your students to plant seeds for experiments. Cardboard egg cartons are easily obtained, are sizable enough for soil and seeds but not so big that they take up a ton of space in your classroom, and they can decompose in the soil.
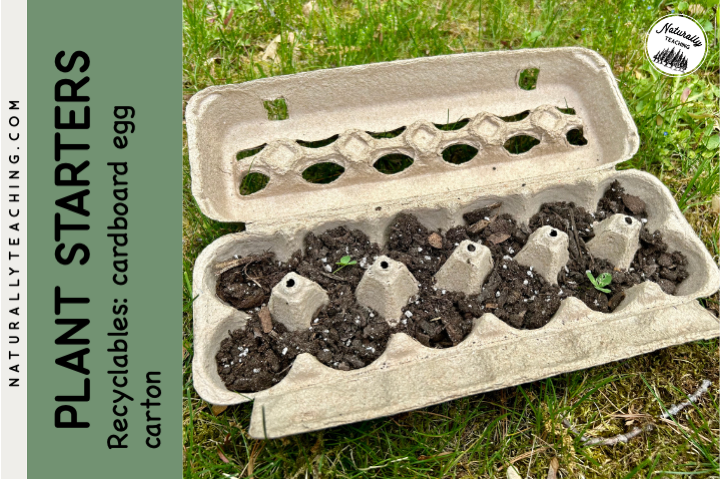
This allows your students to take their plants home and place the entire unit in the ground. You could also consider using toilet paper tubes and paper towel tubes to start seeds; they have the same benefits but may be easier to get your hands on.
Passing out materials for science experiences inside and outside can eat up a lot of your time. Large yogurt, cottage cheese, and sour cream containers can be used to hold basic materials such as scissors, pipettes, tape, glue sticks, rope, and more.
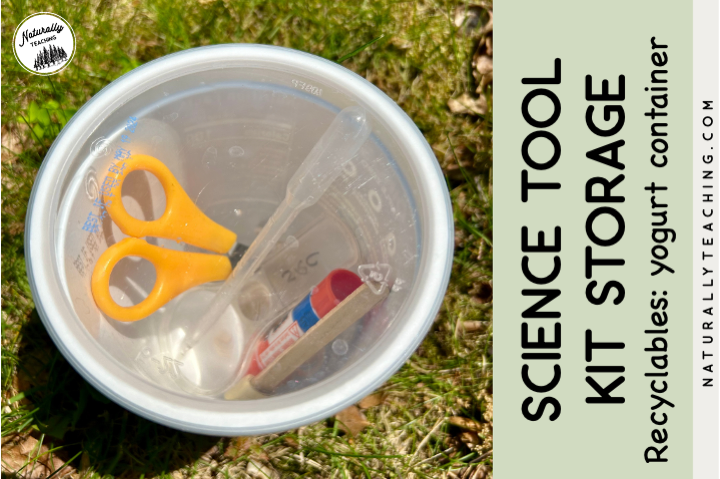
By preparing these kits ahead of time you can use your time during your lesson to give instructions and let your students enjoy their science experiences instead of coordinating the passing out of materials. The trade off for saving you time is that these pre-made kits take up more space in your classroom so you’ll have to pick your poison.
Although basic, funnels can be a lifesaver when it comes to transferring water with early childhood learners. Cutting off the top third of plastic bottles can provide you with basic but effective funnels to use with your students.
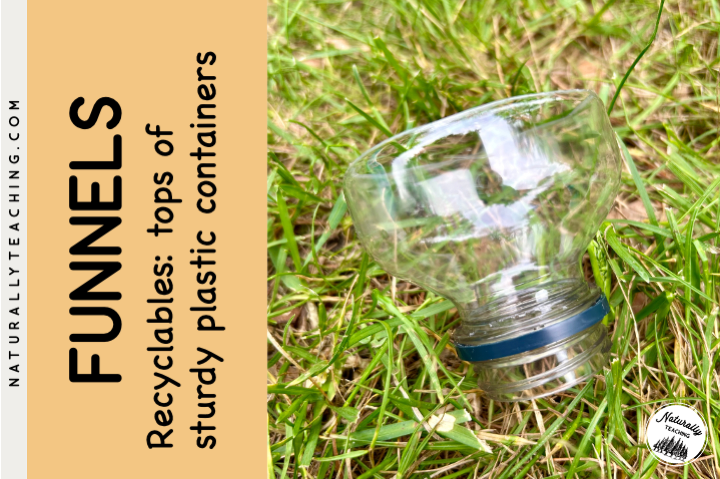
*Teacher tip: Use bottles that have thicker, sturdier plastic. Your students will get less frustrated with them because they will hold their shape better and won’t break as easily.
This one is a little more niche, but if you are studying insects with your students and you want to be able to collect them with a “trap”, use produce net bags filled with grass or leaves. Leave the bags on the edge of a forest, in a flower bed, or wherever you want to try to collect bugs. Come back after a few days and empty the bags onto white paper plates and see what you’ve got.
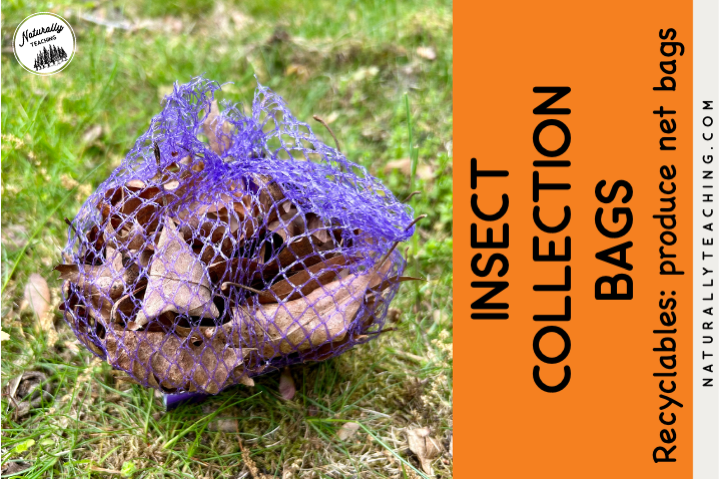
*Conservation note: You may see people suggesting these produce bags for nesting materials for birds. However, the Cornell Lab has published a Dos and Don’ts article for providing nesting materials for birds. Please reference reputable organizations when it comes to care of wildlife.
Sensory bins are a great way for early childhood learners to experience curriculum in a hands-on way, but the plastic sensory bins are expensive. Consider using the aluminum trays from baking to hold your loose parts.
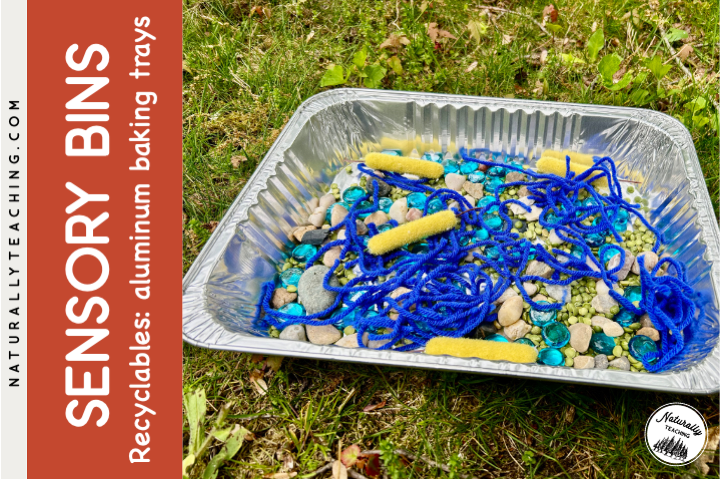
They are light, easy to stack together, and often recycled after one use. Just make sure to check for leaks if you plan to use water in your sensory bins; these pans puncture easily.
Collecting weather data can be a great introduction to science tools. Give your students the experience of making their own weather tool by putting together rain gauges. Not only will they be able to use the rain gauge for practicing data collection, they’ll also work their fine motor skills, measuring techniques, and following step-by-step instructions.

You’ll need the following materials:
To make the rain gauges:
Hopefully you came away with inspiration for science tools made by reusing recyclables! There are many opportunities to provide your students with science equipment on the cheap just keep thinking innovatively and buy goods with packaging that inspires you.
Remember, providing your students with science tools will give them the experiences they need to truly understand your curriculum, not just memorize it. Good luck on your reusing recyclables adventure!
Works cited
Cornell Labs. (2009, April 20.) Providing Nest Materials for Birds: Dos & Don’ts. https://www.allaboutbirds.org/news/providing-nest-material-for-birds-dos-donts/?__hstc=46425656.422abd738b14679a431ba0c0f7214080.1715905941821.1715905941821.1715905941821.1&__hssc=46425656.1.1715905941821&__hsfp=4136036889#
Have more science tools to make by reusing recyclables? Include your ideas in the comments!
Looking for more articles about science? Check out these other titles:
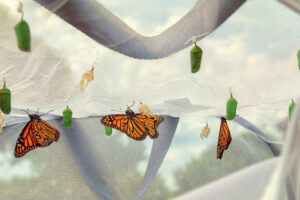
“A Raising Butterflies Kit For the Classroom: A Conservation Conversation”
“Over and Under the Snow by Kate Messner: Teaching Animal Adaptations”
“Snowy Science: A Guide to Teaching About Matter in Winter”
“Amphibians Vs Reptiles: How to Teach the Difference in Your Elementary Classroom”
0